Train models
In the modelling view ML models can be created.
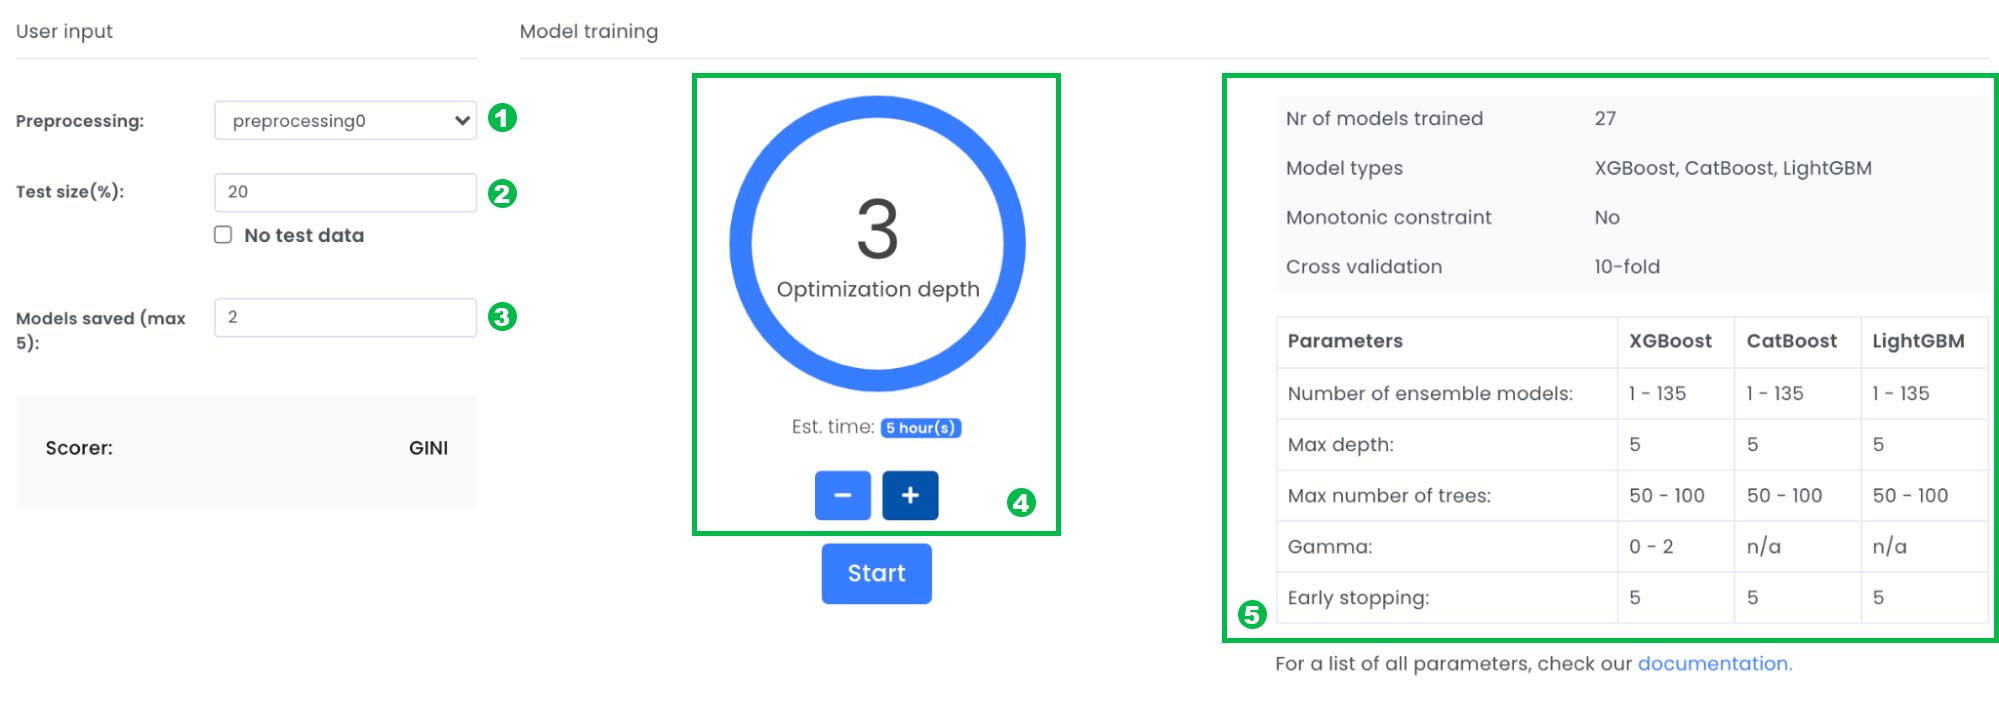
1. Preprocessing
A dropdown where you can choose which preprocessing you want to train your model on. Since we only have created one preprocessing in this tutorial only one preprocessing will exist.
2. Test size (%)
How many applications in percentage that should be used for the test set. By default 20% of the most recent data points will be used as a test set (e.g out-of-time test set). If you click No test data, a separate test data must be uploaded in the next view evaluation
3. Models saved (max 5)
Top 1-5 models we want to save , based on highest gini* score.
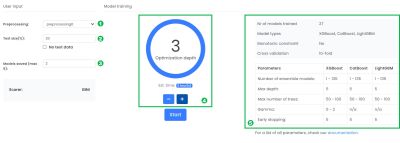
4. Optimization depth
Decides how many different models and hyperparameters that will be tested. The optimization depth one will train one model, while the highest optimization depth will try multiple models, different hyperparameters and ensembles of the models. Hence the higher optimization depth the longer time it will take to create a model.
5. Info box
Gives you detailed information about what will be tested when changing optimization depth. To read more about the detailed information go to our documentation page.
Tips
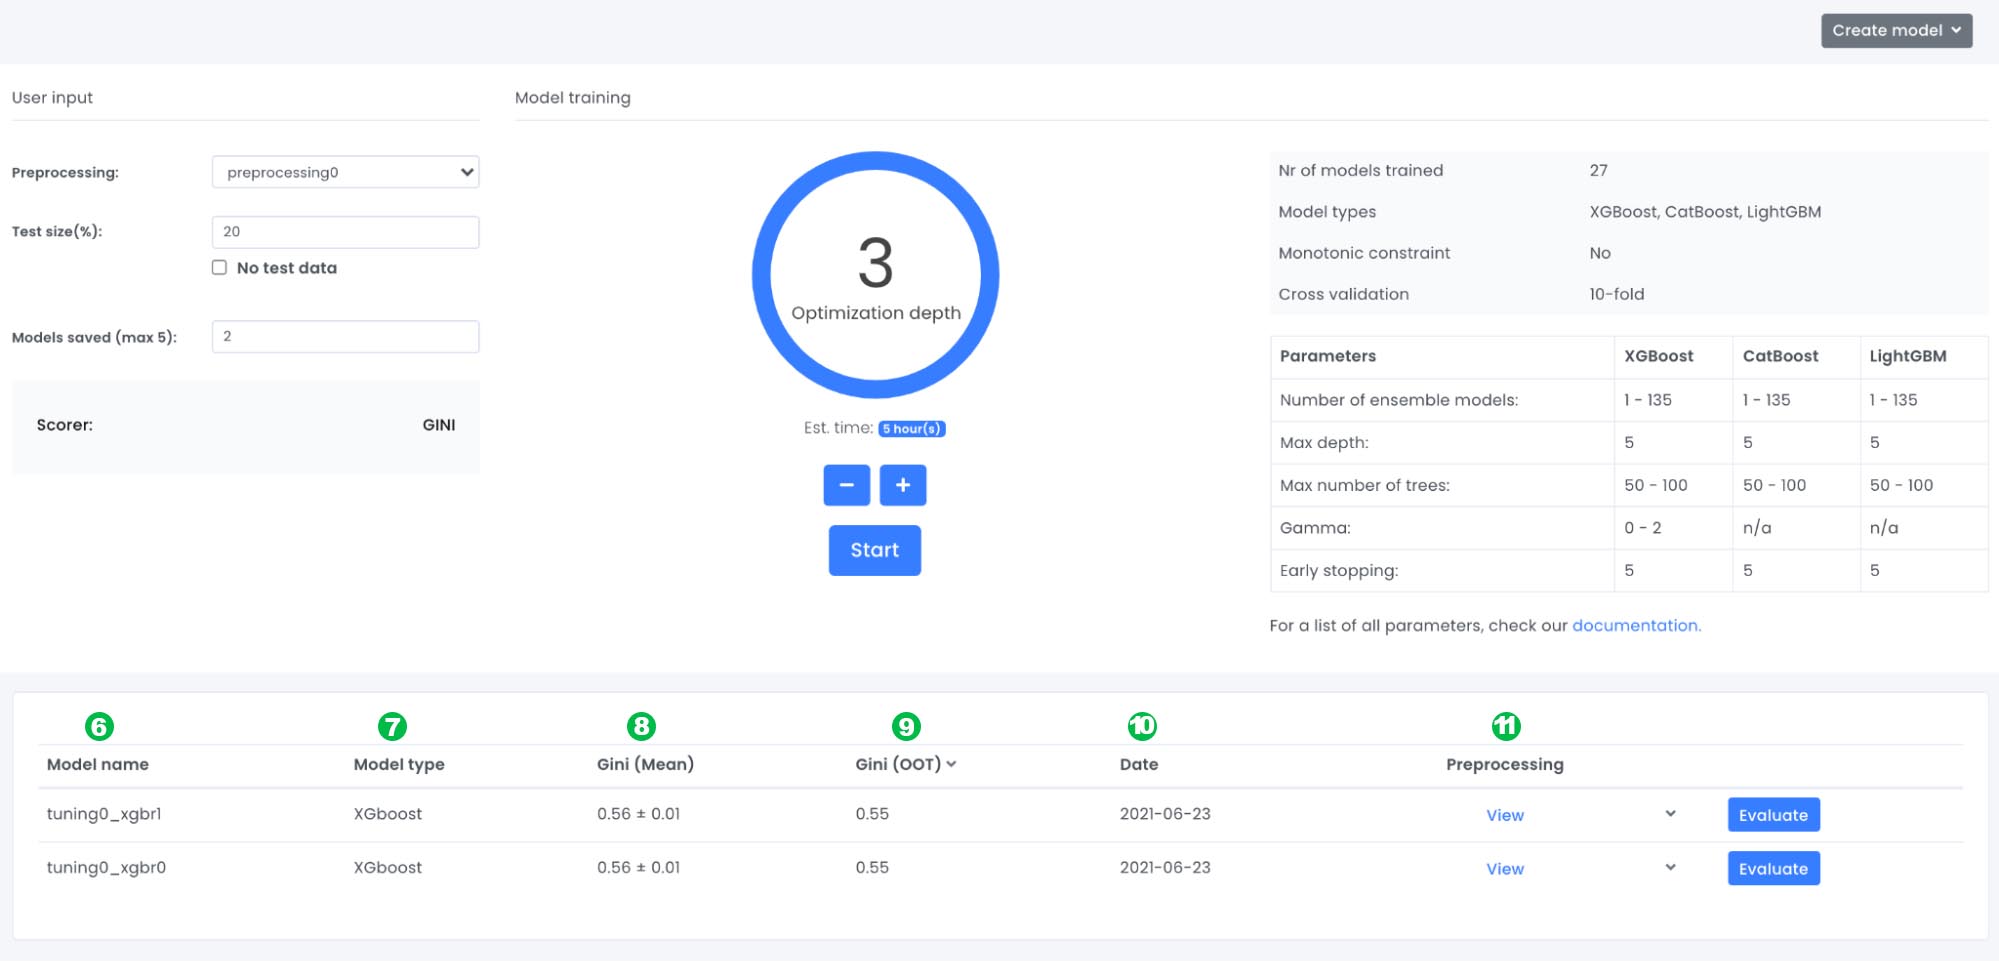
For this tutorial, we will use optimization depth 1, since this is the fastest way to build a model. If it was a real case, the recommendation would be to use the highest optimization depth to test more different settings and models and hence get the most accurate model. When the model is ready, it will appear in a table below the model settings.
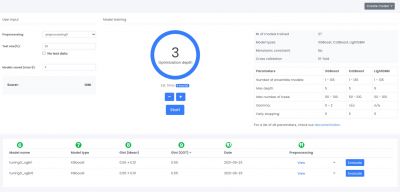
6: Model name: An automatic model name is generated, it is possible to change name in the evaluation view.
7: Model type: The ML-model name.
8: Gini (Mean): For each model, a 10-fold cross validation is performed. Gini mean shows the average gini score and the standard deviation of the 10-fold cross validation.
9: Gini (OOT): For each model a test dataset has to be provided (by default it is the latest 20% of the dataset that was uploaded). The gini (OOT) is the gini score on the specific test dataset.
10: Date: The date the model was finalized.
11: Preprocessing: An overview of which variables were included in the model training.
Tips
There are three goals to look into when looking at the gini scores.
1: We want to have as high gini score as possible both for (mean) and (OOT)
2: We want as low standard deviation as possible for gini (mean)
3: We want the difference between gini (mean) and (OOT) to be as close as possible to each other.
Looking at the two results above, we can see that the three requirements are fulfilled. The most common reason your trained model won’t accomplish the three above results are lack of data or very skewed data, e.g if you have very few defaulted loan applications. If so it is possible to combine the insights that are found in the model training and your own business skills in the form of forcing monotonic constraints on variables. However in this case we are able to accomplish the three requirements above and we will click on the blue Evaluate button to go to the next page evaluation.
We exist to ensure that decisions are given in an accurate, transparent, ethical & fair manner.
